Path of Idle: Old Gods Rising Beginner & Progression Guide
A patch 1.0.9 beginner route for Monument tasks, town upgrades, recruitment, Journey, Exploration, offline caps, storage, automation, and real progression walls.
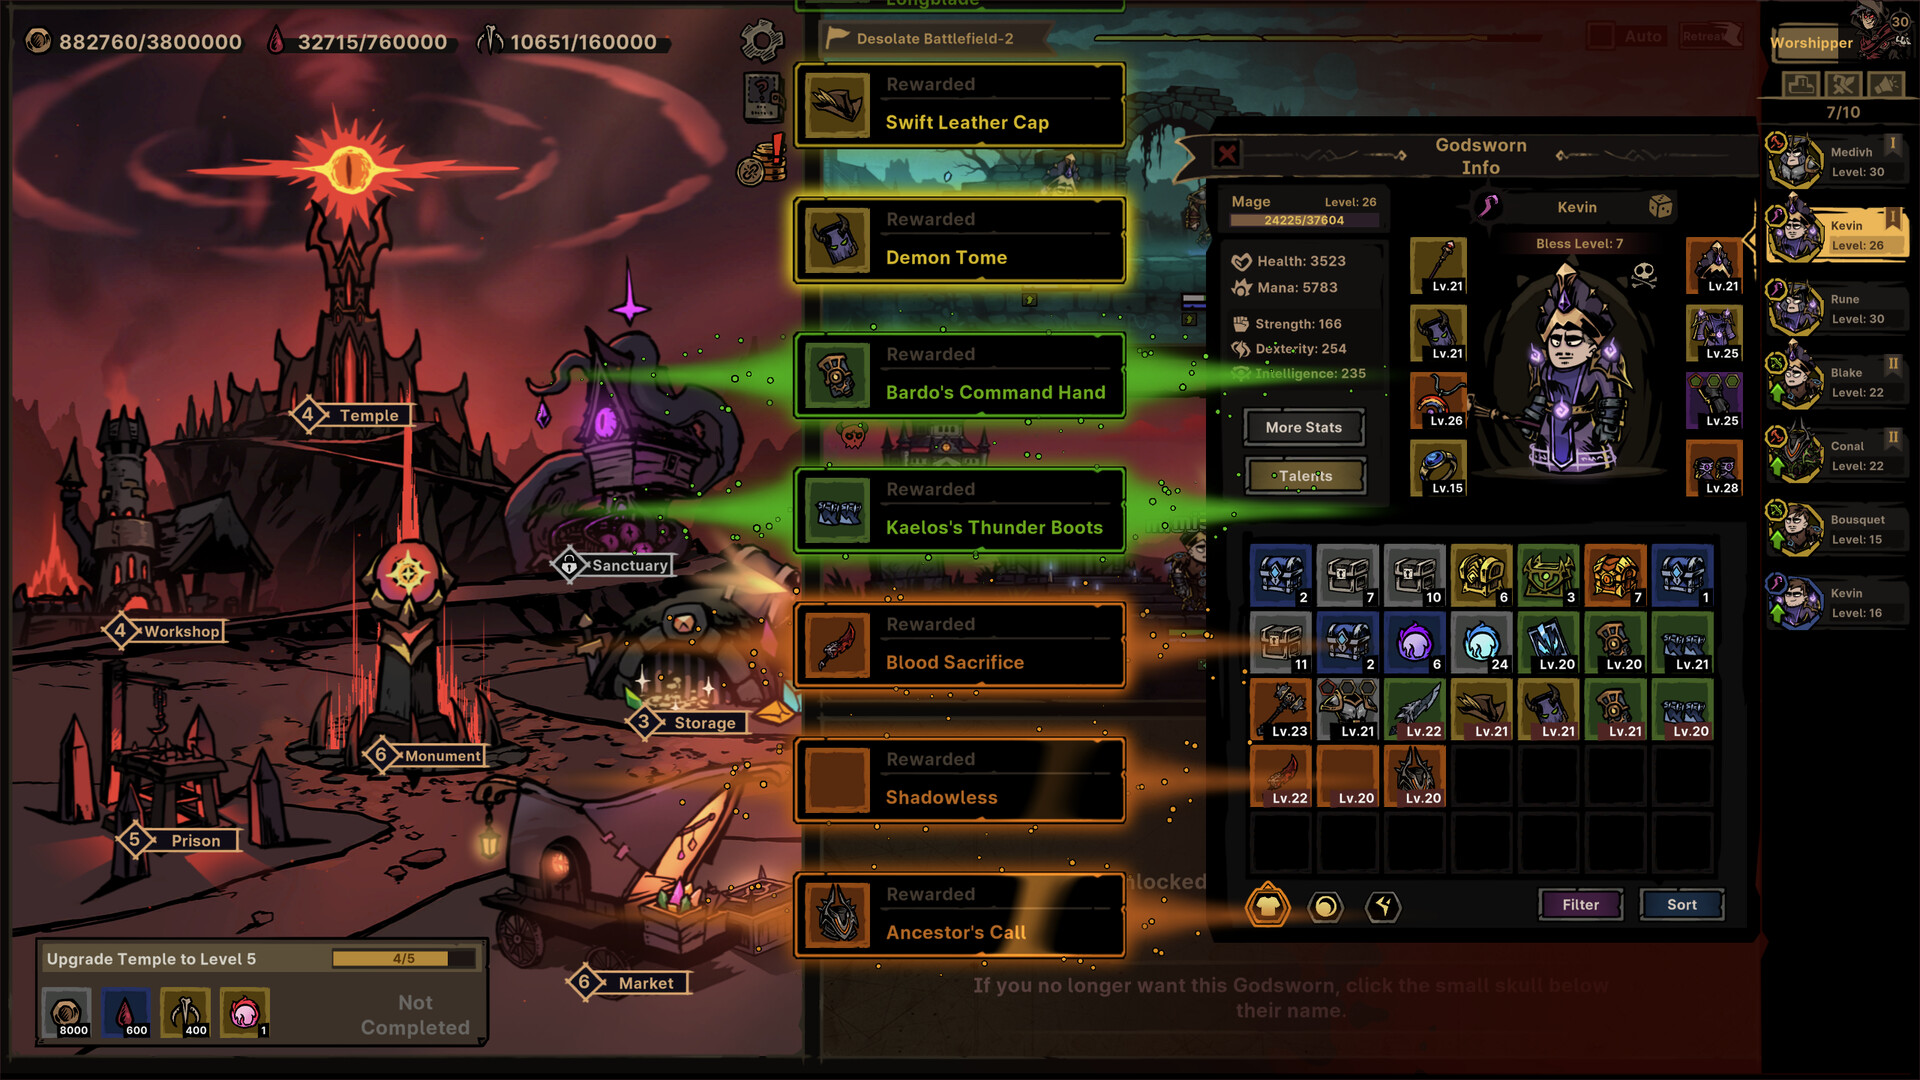
Progression connects town upgrades, loot review, Godsworn management and combat rather than one isolated level number.
Credit: Official Path of Idle Steam store screenshot ↗
Version note: Interface context only; use current Monument text for exact objectives and rewards.
Quick Answer
- ✓Follow Monument objectives before trying to optimize every system.
- ✓Upgrade the town building that removes your current bottleneck.
- ✓Patch 1.0.9 stops capped offline resources from blocking claims, but excess above the cap is discarded.
If You Are Out of Bones
After Chapter 3, use Exploration to obtain Bones; the developer confirmed this directly when a player became stuck on early building objectives. Do not sit on the same Journey stage expecting the missing town currency to appear from combat. Open Exploration, clear the available nodes, and level or refresh the Exploration route when the interface permits. Before Chapter 3, keep following the current Monument and Journey objectives; if Bones are still unavailable before that unlock, record the chapter and report it because the developer asked for that exact distinction.
Source: Developer response on the official Steam discussion ↗
Progression Route by Failure Type
FRONTLINE DIES — equip defense, confirm the tank is actually using a melee skill, and add healing, shielding, or summons. BOSS SURVIVES INTO FATIGUE — stop spreading offensive stats; focus one damage dealer and test a different damage type against resistance. TOWN UPGRADE BLOCKED — trace the currency to Exploration, Market, Journey, or offline rewards instead of repeating the boss. INVENTORY FULL — widen Warehouse or Vault capacity and protect untested set, socket, Legendary, Mythic, and skill-granting pieces before enabling filters. NEW RECRUIT TOO WEAK — use a stable farming line while the new role catches up; do not dismantle the only reliable team to level every recruit equally.
Follow the Monument Before You Optimize
The Monument is the game’s objective and reward guide. Complete its current tasks before spending time on fine optimization: they introduce storage, market purchases, buildings, and combat systems in the intended order. Use the Tutorial button on an objective when the requirement is unclear. This route unlocks systems and pays resources while teaching the economy.
Continue with: homepage Monument decision loop
Recruit, Equip, Then Remove the Current Bottleneck
The Prison lets you Charm defeated enemies into Godsworn and refresh the available list. Equip your active fighters before stockpiling extras. When progression slows, identify the cause: recruit quality points toward Prison investment; level or Baptism limits point toward the Temple; weak equipment points toward the Workshop; full storage points toward the Warehouse. This is safer than copying a rigid upgrade order from an older demo build.
Use Journey and Exploration Together
Journey advances stages and bosses; Exploration gathers resources. As additional combat lines become available, keep one line pushing meaningful unlocks and use stable lines to gather the material you currently lack. A failed push is useful data: change one variable—gear, skill, recruit, or town upgrade—then retest instead of changing everything at once.
Turn On Automation Gradually
Version 1.0.7 expanded Market and Prison auto configuration, added automatic Outlands plane switching and Exploration level-up settings, and allowed Exploration downgrades. Enable one automation rule at a time and watch a cycle before leaving it unattended. Also set equipment filters carefully: the official patch notes say full Vaults can swap out lower-level equipment, so reserve space for anything you intend to compare manually.
A Practical Bottleneck Checklist
When progress stops, separate combat failure from economy delay. If enemies defeat the frontline early, inspect survival, equipment requirements, and support coverage. If the line survives but damage is too low, compare skill synergy and useful offensive affixes. If upgrades are unavailable, trace the missing material back to Journey, Exploration, Market, or a town building instead of repeatedly retrying the same boss. Write down the single limit you intend to solve. This short diagnosis prevents spending rare resources on an impressive upgrade that does not change the failed outcome.
Plan an Idle Session Safely
Before leaving the game unattended, empty enough storage to preserve unfamiliar equipment, confirm which lines are gathering, and check that purchasing or recruitment limits cannot drain a resource needed for the next upgrade. Start with a short session and inspect the result: resources gained, items replaced, market spending, and whether a line stalled. Tighten or widen one rule based on that evidence. Automation is most valuable after the manual loop is understood; it cannot correct a filter that was built around the wrong bottleneck.
Review Progress at Milestones
Pause after a Monument reward, new combat line, town renovation, Baptism step, or major patch. Check whether the previous bottleneck still exists before repeating the same upgrade plan. A new system can change the value of saved materials, recruits, or equipment. Keep a small reserve instead of spending every currency immediately, and compare the next unlock with the cost of improving current consistency. This milestone review turns progression into a sequence of informed decisions rather than an endless retry loop.
Town Building Priority by Bottleneck
There is no single building order that stays optimal for every account. Use the Monument or Stele to unlock systems, then spend where the current failure points. Upgrade the Prison when recruit quality or access to the needed role is limiting the roster. Use the Temple when levels, Blessing, Talents, Baptism, or Inspire are holding a proven character back. Use the Workshop for Embedding, forging, equipment comparison, and other gear functions; the developer specifically confirmed that socketing requires the Embedding renovation. Expand the Warehouse or Vault before automation begins deleting or replacing items you still need to inspect.
Where to Find the Equipment Filter
If a tutorial asks you to view the equipment filter, look in the Inventory rather than the Codex. The developer clarified this after a player reported that the tutorial wording suggested the wrong screen. The Codex is where you manage knowledge such as Preferred Skills and Affix Seals; the Inventory is where the equipment filter lives. Keeping these jobs separate prevents a common early-game loop of clicking the Codex while the Monument task refuses to complete.
Patch 1.0.9 Offline Reward and Capacity Plan
Version 1.0.8 reworked offline rewards and added resources that scale gradually with Worshiper level. Version 1.0.9 then gave Gold, Blood, and Bone fixed very high caps: excess offline rewards above a cap are discarded and no longer prevent claiming. Warehouse Core Renovation no longer raises those caps; it now increases high-quality chest spawn rates during Adventure. Before leaving, inspect the three resource caps, reserve equipment space, and note what the next upgrade needs. On return, separate discarded cap overflow from an automation failure.
Continue with: complete offline rewards and caps audit
Source: Official version 1.0.9 update ↗
Early Progression Changes Since Launch
Launch patches materially changed the fastest route. Version 1.0.3 removed Loot Progress and replaced it with Exploration Progress, kept drop rate at 300%, reduced experience required by 20%, reduced the level penalty to 10% per level with at least 10% experience retained, and lowered high-level forging and high-quality recruitment costs. Version 1.0.4 increased Legendary and Mythic Prisoner appearance chances and reduced Golem upgrade costs. These changes make old demo routes unreliable: use the current Monument tasks and installed tooltips instead of hoarding for costs shown in an older video.
A 30-Minute New-Player Loop
First, clear the active Monument objective and claim its reward. Second, inspect the current combat failure and choose one response: recruit a missing role, equip a clear upgrade, or renovate the building tied to the blocked function. Third, push Journey until the next attempt stops being consistent. Fourth, move stable lines to Exploration for the exact material now missing. Fifth, clear enough Inventory and Vault space, enable only one understood automation rule, and observe a complete cycle. Repeat this loop after every major unlock instead of spreading resources across every visible system.
Related Guides
Evidence Sources
- Official Steam store ↗
- Official update feed ↗
- SteamDB app history and platform metadata ↗
- Steam discussion: common beginner questions ↗
- Developer answer: equipment filter is in Inventory ↗
- Developer answer: Bones are earned through Exploration after Chapter 3 ↗
- Official version 1.0.9 update ↗
Revision note: checked against the sources above on 2026-08-26. Recheck in-game tooltips after every balance update.